05. Launch an Instance
Launch an Instance
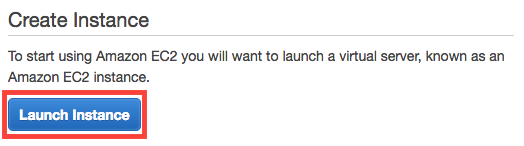
Once AWS approves your GPU Limit Increase Request, you can start the process of launching your instance.
Visit the EC2 Management Console, and click on the “Launch Instance” button.
Next, you must choose an AMI (Amazon Machine Image) which defines the operating system for your instance, as well as any configurations and pre-installed software.
Click on AWS Marketplace, and search for Deep Learning AMI with Source Code (CUDA 8, Ubuntu). Once you find the appropriate AMI, click on the "Select" button.
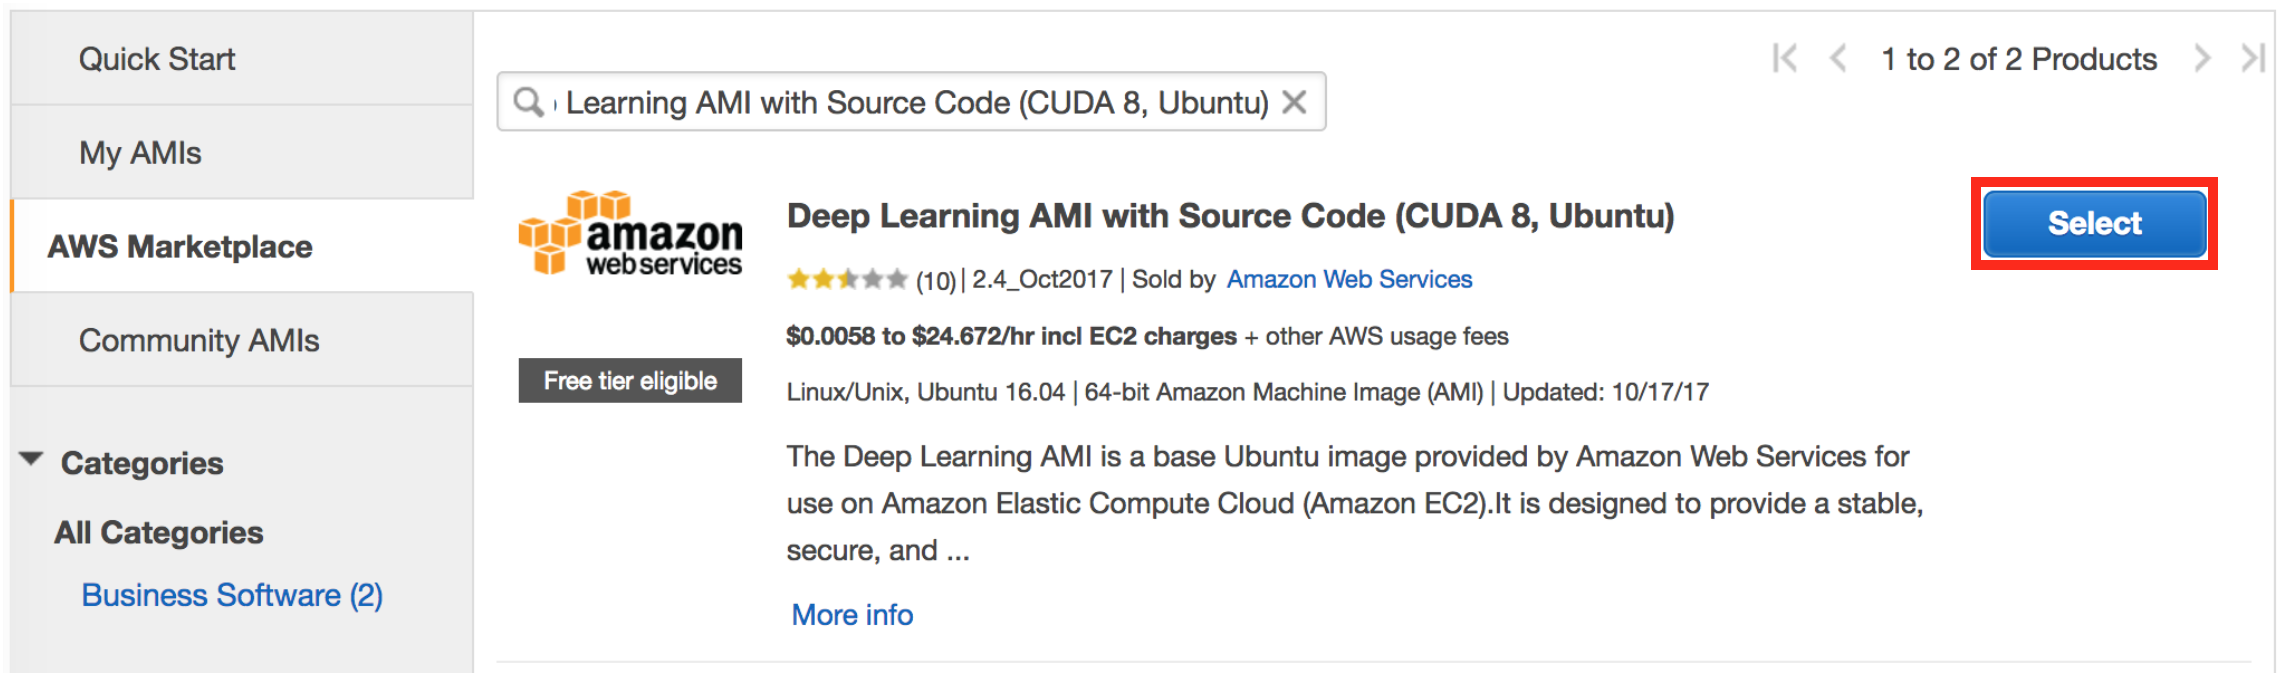
This Amazon Machine Image (AMI) contains all the environment files and drivers for you to train on a GPU. It has cuDNN, and many the other packages required for this course. Any additional packages required for specific projects will be detailed in the appropriate project instructions.
Select the Instance Type
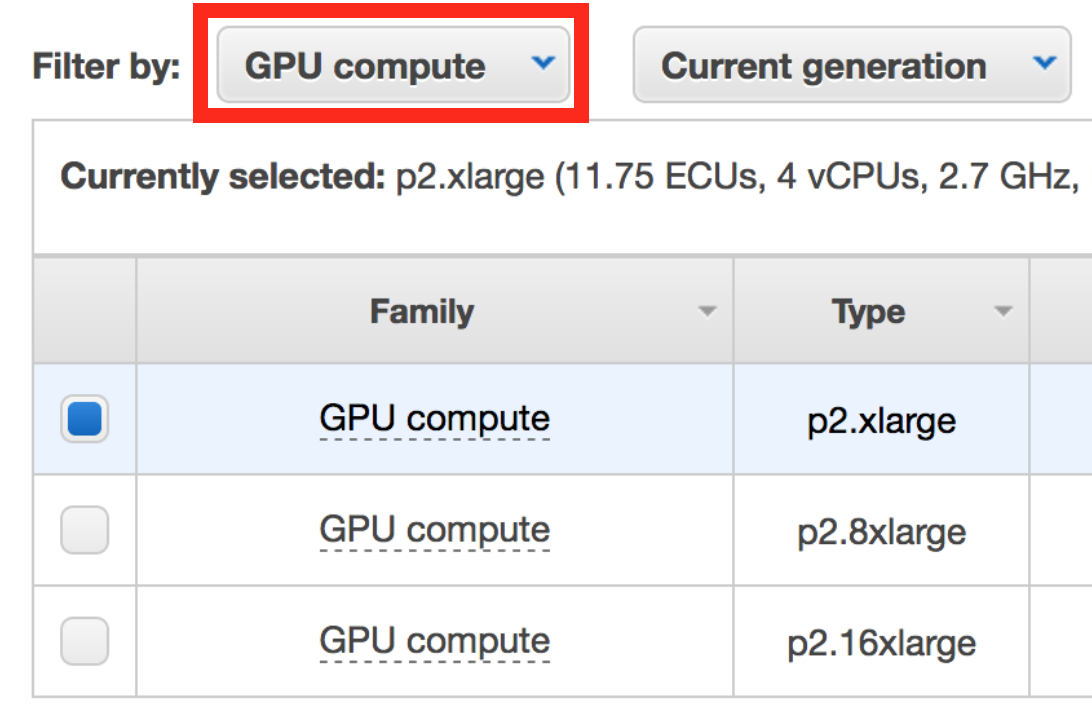
You must next choose an instance type, which is the hardware on which the AMI will run.
Filter the instance list to only show “GPU compute”:
Select the p2.xlarge instance type:
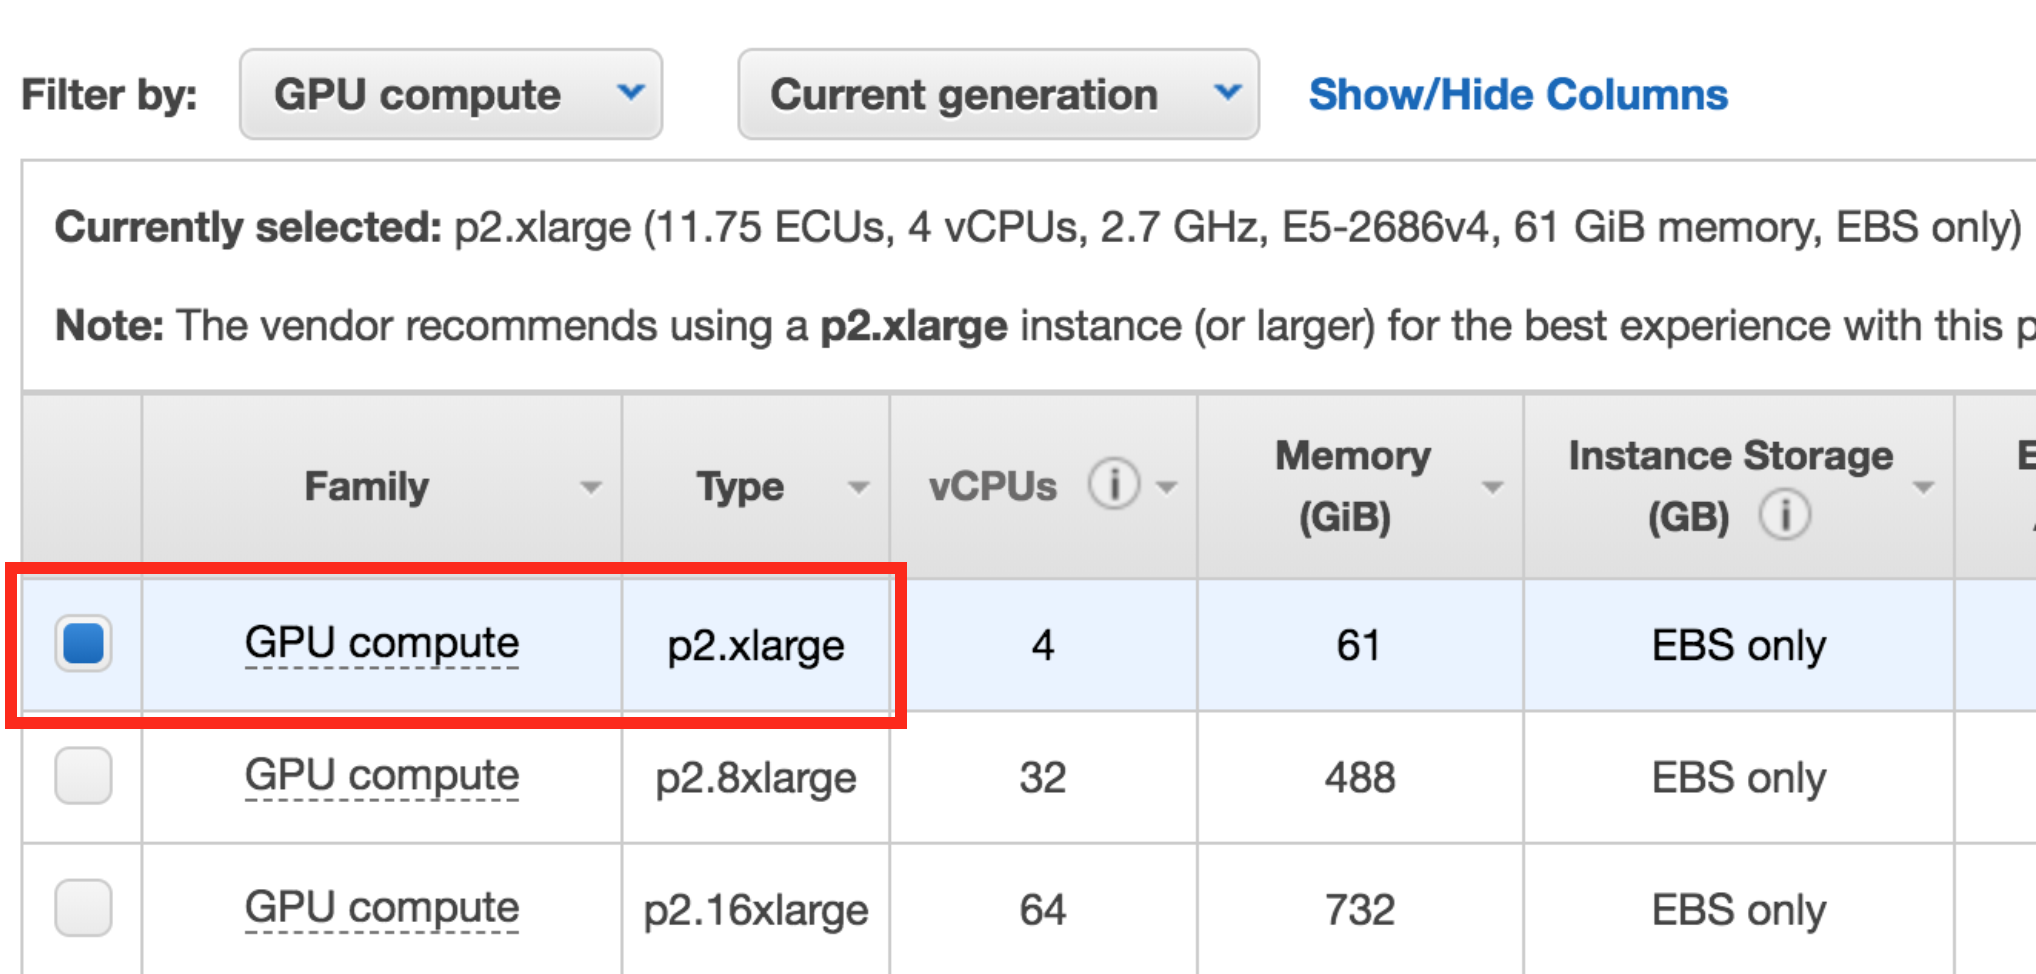
Finally, click on the "Review and Launch" button:

Configure the Security Group
Running and accessing a Jupyter notebook from AWS requires special configurations.
By default, AWS restricts access to most ports on an EC2 instance. In order to access the Jupyter notebook, you must configure the AWS Security Group to allow access to port 8888.
Click on "Edit security groups".

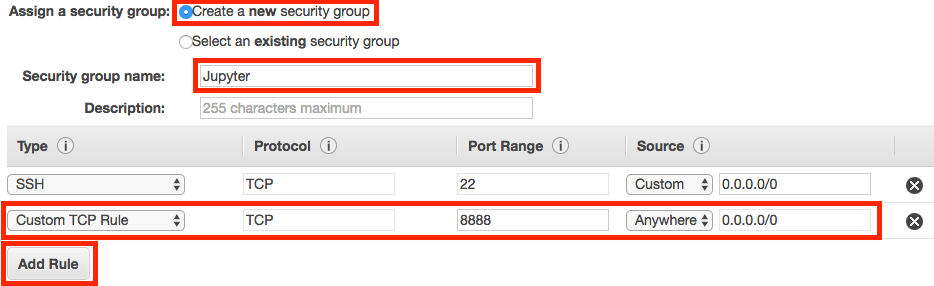
On the "Configure Security Group" page:
- Select "Create a new security group"
- Set the "Security group name" (i.e. "Jupyter")
- Click "Add Rule"
- Set a "Custom TCP Rule"
- Set the "Port Range" to "8888"
- Select "Anywhere" as the "Source"
- Click "Review and Launch" (again)
Launch the Instance
Click on the “Launch” button to launch your GPU instance.

Create an Authentication Key Pair
AWS will ask if you’d like to specify an authentication key pair. You'll need to do so in order to access your instance, so you select “Create a new key pair” and click the "Download Key Pair" button. This will download a .pem file, which you'll need to be able to access your instance.
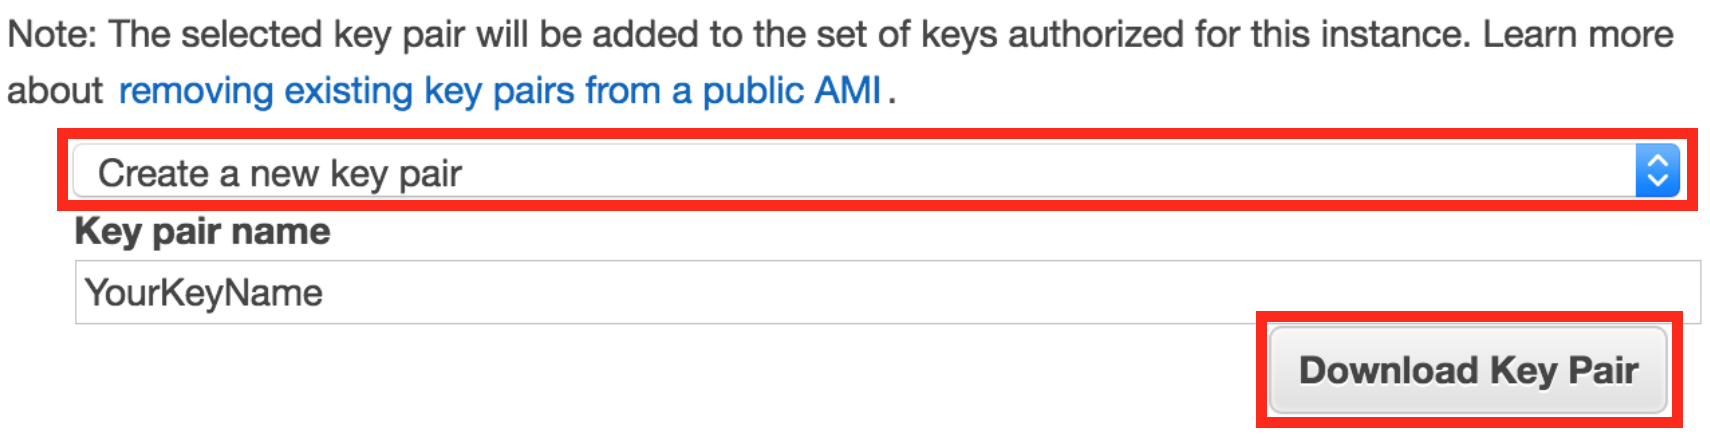
Move the .pem file to a secure and easily remembered location on your computer; you'll need to access your instance through the location you select.
After the .pem file has been downloaded, click the “Launch Instances” button.
Click the “View Instances” button to go to the EC2 Management Console and watch your instance boot.
Be Careful!
From this point on, AWS will charge you for running this EC2 instance. You can find the details on the EC2 On-Demand Pricing page.
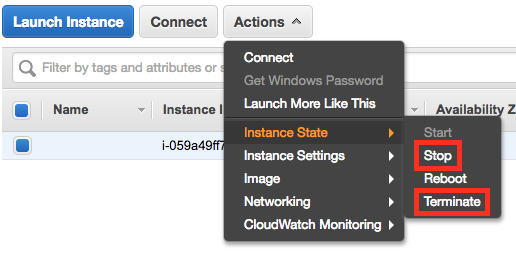
Most importantly, remember to “stop” (i.e. shutdown) your instances when you are not using them. Otherwise, your instances might run for a day, week, month, or longer without you remembering, and you’ll wind up with a large bill!
AWS charges primarily for running instances, so most of the charges will cease once you stop the instance. However, there are smaller storage charges that continue to accrue until you “terminate” (i.e. delete) the instance.
There is no way to limit AWS to only a certain budget and have it auto-shutdown when it hits that threshold. However, you can set AWS Billing Alarms.